We're back! I know, I know...it's been awhile. I'm not sure what happened, but this winter was busy, busy (along with long and COLD!). But, we managed to finish one of our inside projects. When we first moved into our house, one of the areas that bothered Kevin and I was the back entryway. We use this entryway to come into our house a lot...our front door leads straight into the house and there is no place to put shoes and coats. Which is why coming in and out of the back entryway makes the most sense. But, the back entry had some U-g-L-y linoleum flooring and some random hardwood area that did not match the hardwood in the kitchen. Check it out...
Looking into the entryway from the kitchen.
Look at that beautiful floor ;)
Close up of the floor and the rusty, old vent.
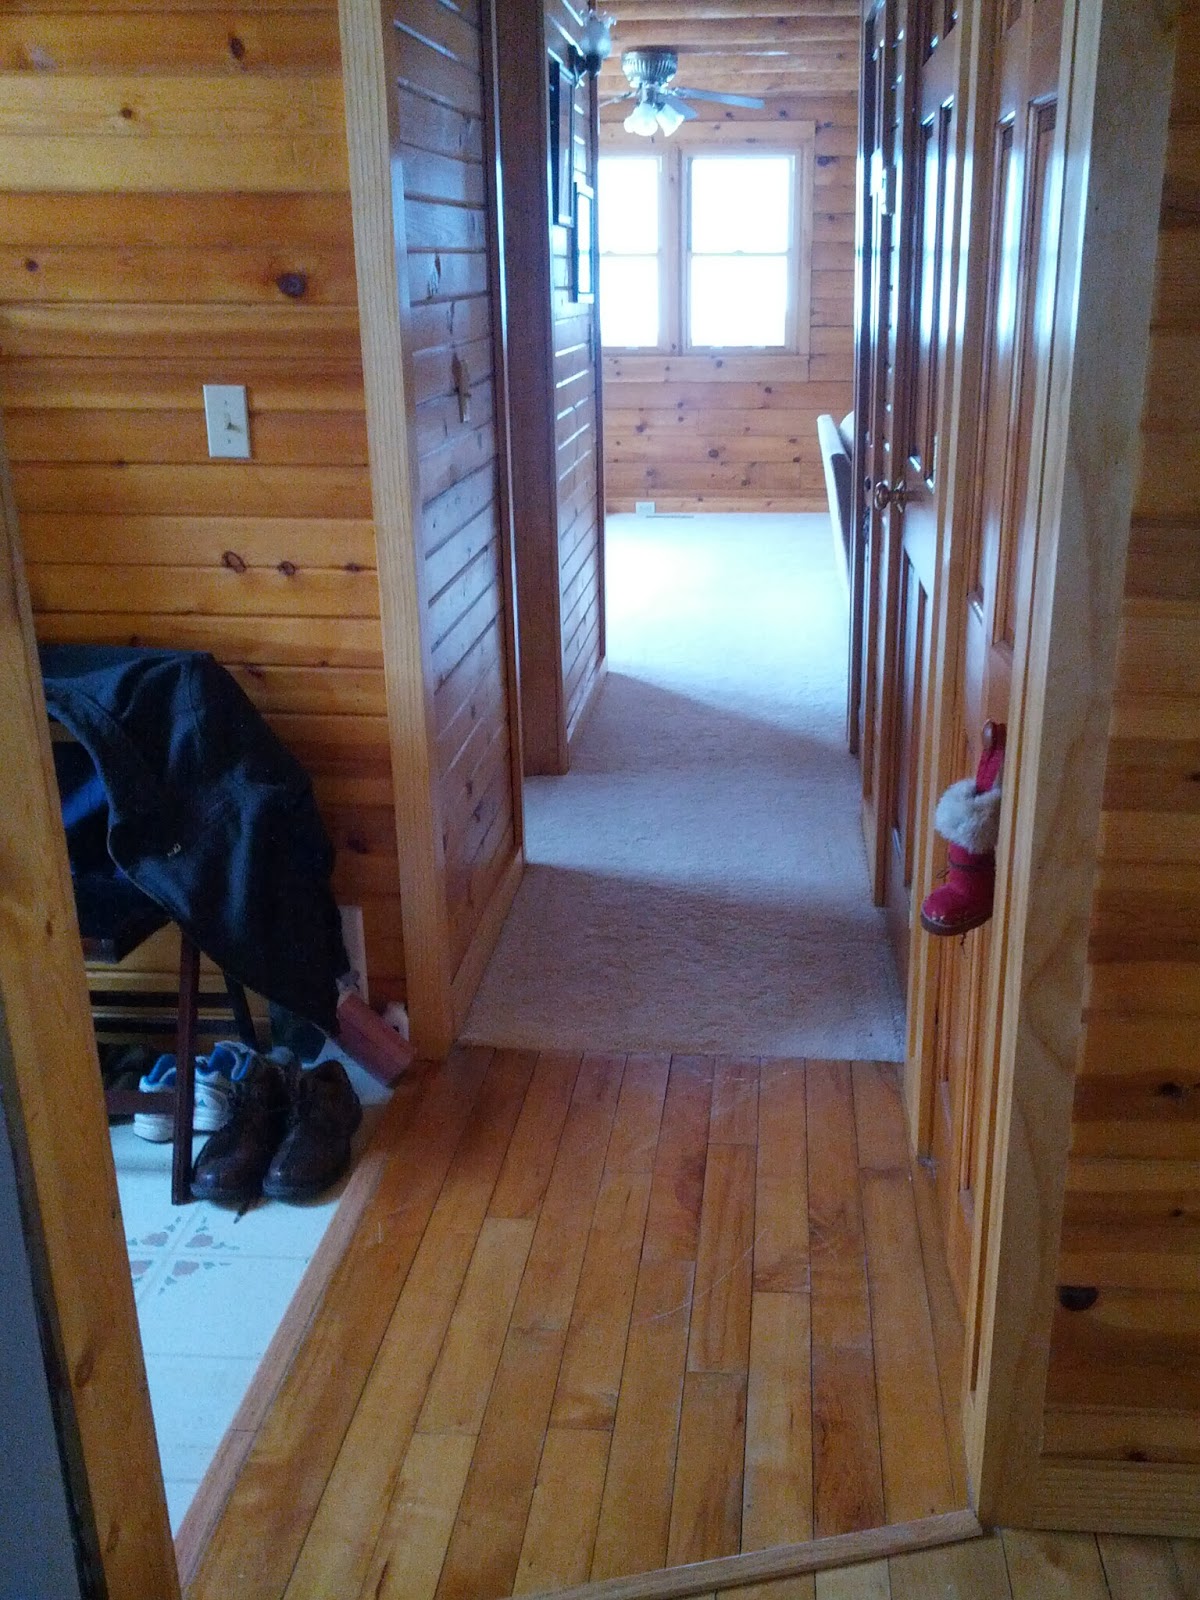
One other thing that drove us crazy about this space was the fact that the "flooring" did not stretch to the basement door. So....as you can imagine we have been doing the taking our shoes off and then putting them back on again to run down to the basement. Here is what I mean...
The hardwood that does not match...
The basement door is on the right...first doorknob
that you see.
Now you have an idea of what we were working with and why it so desperately needed some TLC. Next step-figure out what color and type of tile we wanted. We went back and forth and back and forth again, before settling on a ceramic tile that had dark and light shades of gray, blue and tan. Another big shout out to Homestead Interiors for providing us with our beautiful tile.
As I've told you before, Kevin is a research king. He does his homework before he starts any job. This was the first time he has ever tiled. Also, I am happy to report that I did help with some phases of this project! :) But, the first thing that needed to be done was the demo. This was a quick demo...rip out the old flooring and be done. Check it out!
Then, Kevin cut new plywood for the floors...looking better already!
Next, it was time for the Ditra. We chose to use the Ditra after much thought because it would provide a barrier between the plywood flooring and the tile. It provides protection from water and allows the tile more room to "give". The Ditra ended up creating a bit more work and extended the time it took for Kevin to actually lay the tile, but it was worth the heartache. We were able to purchase the Ditra from the good ole' Home Depot. Surprise, surprise :) Where else would we spend our paychecks?! It is also important to note that the Ditra requires a special "Ditra set" or mortar to adhere it to the surface of the floor. Unfortunately for us, the only store that had it was in Youngstown. Thankfully, Y-town is not that far from us. Here is Kevin putting the Ditra down.
Rambo had to make sure that Kevin was
doing everything correctly. :)
Next step: TILES! As a first time tiler (or I should say "tiler helper", if that's even a title!), I thought the actual laying of the tile would be quick, lickety split. Not so much. Because we decided to use the Ditra set, it meant that Kevin had to be very conscious of the levels of the tiles since the Ditra has the grooves in it. Lets just say, it took over a week for all of the tiles to be placed.
Almost there!
We decided before placing the tile to buy a small wet saw, from....can you guess?! Yep, Home Depot. Looking back, it probably would have been easier to buy a bigger wet saw...but we didn't want to spend the money on something we would probably only use once. The small one did just fine, but again required us to put in a little extra time when cutting the tiles.
Here it is, everything down! But, not finished yet.
Looking good!
Looking toward the kitchen, the basement
door is on the left. Hooray for being able to keep
our shoes on!
View looking from the kitchen
Oh yes, and before we get to grouting...our site supervisor checking in on our progress.
Rambo R. Ray, Site Supervisor
Finally! It was time to grout. We decided to go with a light gray grout, as opposed to a cream, white or charcoal gray. I was afraid that the first two colors would just show the dirt and that the other would be too dark against our already darker tiles. Now, this was where I came in! I fully participated in grouting the tile. We were a true team on this one. Kevin would place the grout in and I would wipe away the excess with my sponge :) Of course, there is no photographic evidence of my participation...so I guess you'll have to take me at my word.
Grout: looks darker than it is when dry
Kevin working hard
All grouted...enter Trisha to swipe and clean!
I also decided it was completely necessary to revive this back entry with a new bench with storage and an awesome coat rack. Kevin and I had found a coat rack online that we liked about a year ago. But, this coat rack cost $233?!?! For this.....---->
Yeah, our thoughts exactly. So, Kevin set to work making one for our new space. Here was his version, for all of $25....----->
Beautiful!
HOORAY! WE DID IT! There were some points during this project when I thought it may never be finished. But, all in all it turned out fantastic. As always, we learned a lot from our project. First, something will always go wrong...no matter how hard you try to avoid it. Leveling your tile is key, even if it takes forever. Last but, not least always be patient. We are fixing up this good ole' log cabin one project at a time. Slowly, but surely. :)
Stay tuned soon for the beginning of a project that has taken us over a year (and counting!) to complete.
1 comment:
Angela Jones
said...
Love it - looks so great!! You guys are awesome :)


1 comment:
Love it - looks so great!! You guys are awesome :)
Post a Comment