Tuesday, October 1, 2013

First floor bath

Happy fall!  It's my favorite season of the year.  Isn't it wonderful to walk outside in the evenings and smell the crisp, fall scent of leaves? :)  Mmmmmm....I just love it.  Here's a little look at how fall is showing its colors in our backyard.


Now, I know.  It's been awhile.  And for that, I sincerely apologize.  But, I have to say that it has made me feel pretty excited that some of you have asked me when my next post is coming!  That means people are actually reading! Woo hoo!  Although this is my favorite time of year, it is always a busy time of year too.  As most of you know, I am a Speech-Language Pathologist that works at a school for children with autism.  Since the school year just began, my days have been chalk full of IEPs, making new materials, meetings and all of that fun stuff.  I am currently in the midst of writing 5 IEPS (3 down as of today and 2 to go!), so life has felt crazy.  On top of my regular work, Kevin and I have been busy visiting friends and celebrating birthdays (Happy 30th Birthday to Dan Buckley!).  Oh!  And I forgot the most exciting thing that has happened in the past month.  My mom and I took a trip to California to visit my dear sister Angela, my brother-in-law Chris and our niece and nephews (the always spunky Des, Wes and Penny).

Wes, Penny and Des

Kevin, me, Ang and Chris at a wedding

We saw the Hollywood sign!


And even had a celebrity sighting!  Mario Lopez
and Maria Menunos shooting Extra!


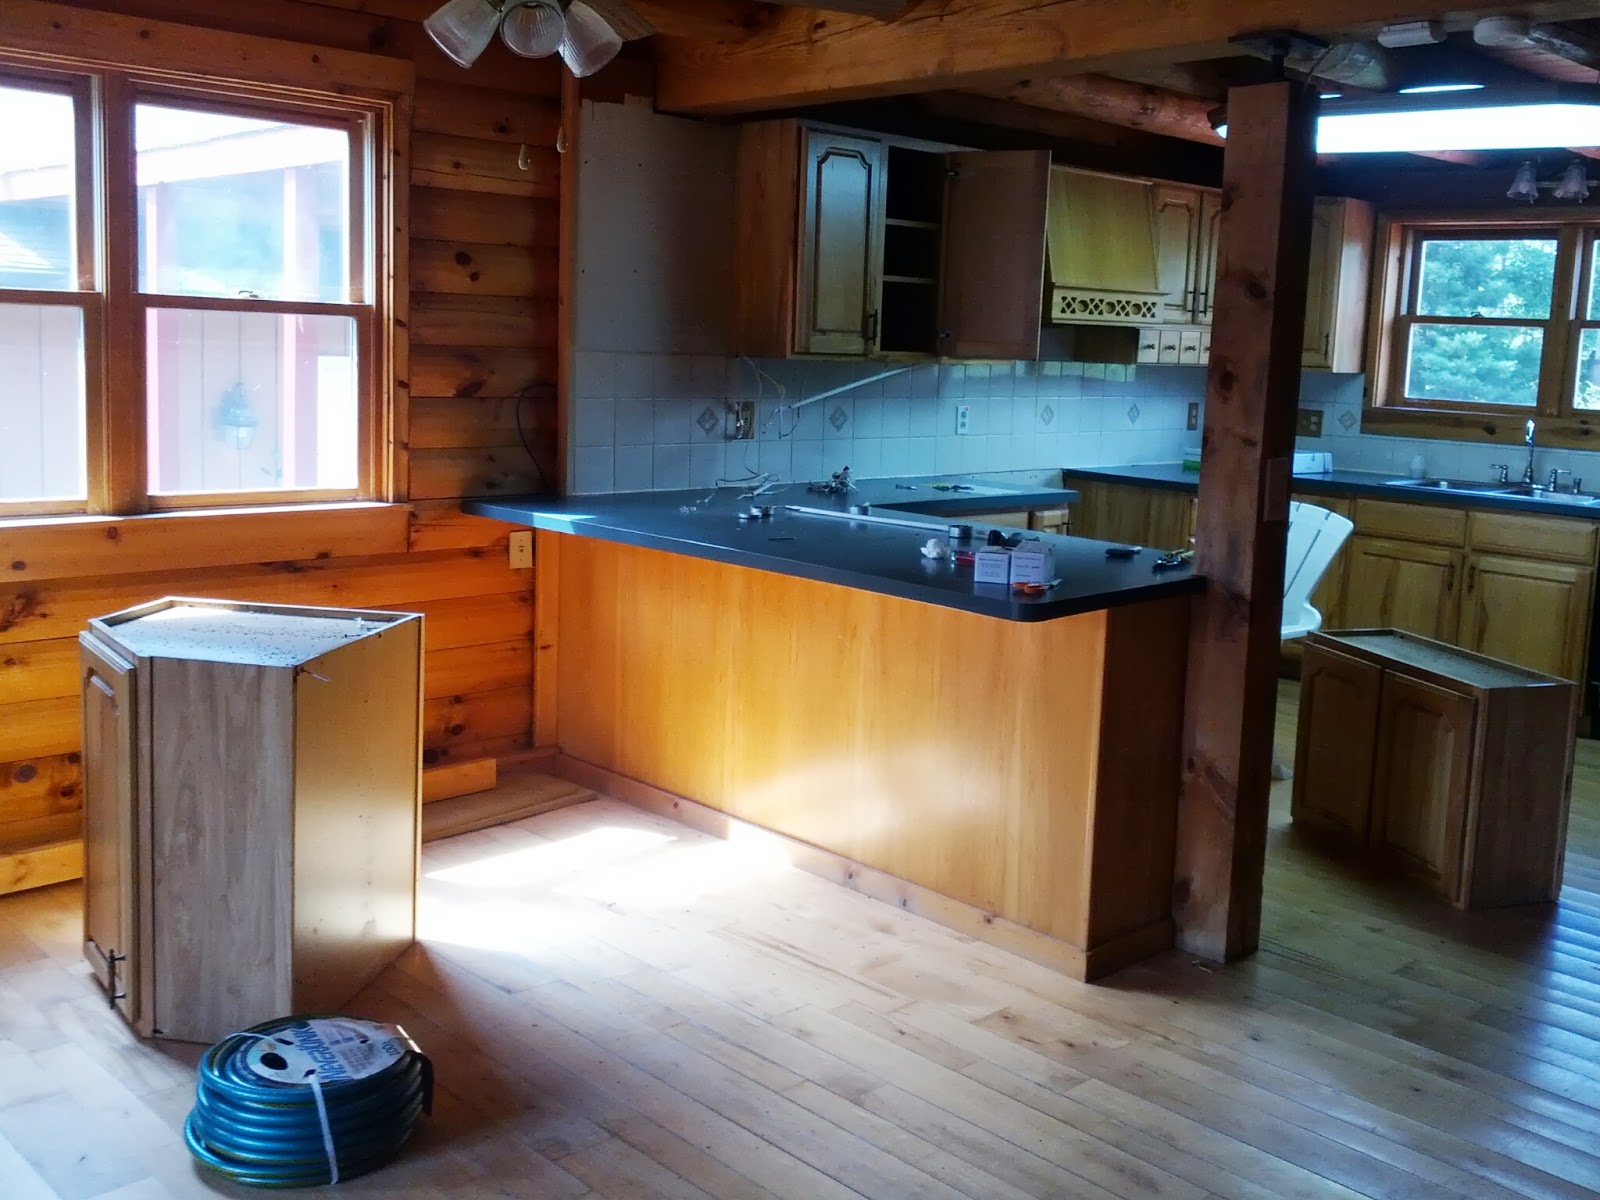
But, back to the house!  Are you ready to see what we did with the first floor bath?  Although this bathroom is small, it took quite a bit of intricate work (all by Kevin, of course).  Personally, I was not involved with this project other than a few decorating details at the end.  This was a full on Kevin episode and he deserves ALL the credit.

Lets start by explaining what needed to be fixed.  The walls in our house are tongue and groove, there is no drywall.  So, when the previous owners built our home it was apparent that they decided to finish a lot of the inside structure themselves.  Also, we have beautiful log beams that run across the ceiling of our first floor.  With that being said, tongue and groove walls and the log ceiling beams can create a tricky puzzle.  When we moved in, the walls of the bathroom did not completely run up to the ceiling.  In fact, there was another piece of tongue and groove tacked on that went to the bottom of the log ceiling beams.  Basically, the bathroom was not very private.  Which in the case of a bathroom is a problem.

Kevin set out to make the bathroom usable.  He put his carpentry skills to the test and it turned out great.  Take a look below and see the beautiful work that Kevin did.


Before from the inside of the bathroom.  Look
up!

Before from the inside again.


After!  Isn't it great?  Ok, this may be one of those
things that only Kevin and I appreciate :) But, Kevin did an
amazing job.  Check out the beautiful rope detail!
All Kevin's idea!
Before

After


Before:  Notice, no light, paneling missing
on the right and a whole lot of nothing
at the top!


Before:  Now, this is where I come in!!!! I had been
searching high and low for something to store linens.
This space is small, so it was a difficult task.  But, thanks
to my wonderful Aunt Nancy I found it!  Amazingly, she
gave us this piece of furniture.  And to make it even better,
it actually belonged to my grandmother before. :)


After!  Kevin moved the light to the center of
the wall, we bought a light (obviously!), Kevin
added some beautiful trim and rope accents on the
left and we decided to add a little hook on the right
to hang your robe or towel.


Before


After:  Kevin added trim and the rope accents
on the far corner by the sink and I added
blinds and curtains (thanks to my mom for the
help!  I am admittedly, terrible with curtains.) :)


Last, but not least, the shower curtain and
the door.  Unfortunately, I do not have a picture
of the original door, but it was an ugly "barn" like
door with a latch.  We ordered this door from
Mentor Lumber and Kevin stained it and hung it.

Now presenting, my first attempt at a video!!!!  Even though I just walked you through all the pictures, there is something fun about watching a video.  It's like really being on HGTV, but Log Blog style.  Pardon my voice, I'm just getting over a cold.


I think that's it!  We hope you like the bathroom transformation.  Stay tuned for our next installment! :)


Tuesday, August 13, 2013

The longest and shortest month=August 2012

Are you still there?  We are!  It's been a busy few weeks and I apologize for the delay.  We've been busy staining the house (don't worry, we'll show you ALL of that!) and throwing my Dad a surprise 60th birthday party!  Happy Birthday Dad!!!  We all need a little break sometimes and what better way to spend it than with family.  

So, I promised you the kitchen.  Let me preface the post with this:  the kitchen is still a work in progress.  You will see what I mean. :)  But, when we started working away in August this is what we were working with:


Notice, no appliances, ugly, red paint on the walls and some really, interesting hardware on the cabinets.  First things first...Kevin had the idea to take out the cabinets that go across the island/bar counter area.  I am the first to admit that my visual spatial skills are terrible.  When Kevin voiced this thought I said, "Hell no!".  All I could think of was losing my precious cabinet space (right ladies?!).  Kevin kept bringing it up and told me, "If you don't like it, we can put them back up."  I didn't realize at the time that this was Kevin's way of getting me to DO IT!  Faster than I could say, "yes" Kevin pulled out those cabinets.  Now, we DID NOT do the typical HGTV smash the cabinets with a sledgehammer...we both agree that that is one of the most frustrating and ridiculous aspects of those shows.  Why ruin something that you could recycle or use for another project?!  And that we did.  A few of the cabinets had some doors that were damaged and we were lucky enough to use the doors from the cabinets that we took down to replace the damaged ones.  Back to the cabinets...once they were gone, I saw the light!  Boy, did I ever see it!  Kevin was right.  Removing those cabinets really opened up the space and connected the kitchen to the dining room, as well as the rest of the house.  Props to my husband!  He is definitely the one in this marriage who is always able to look past the surface and create innovative ideas.  You'll notice that with the removal of those cabinets, we also had to remove the corner cabinet that was against the drywall.  We are currently in the process of having an Amish cabinet maker make us an open cabinet for that space (thanks to Nancy for the suggestion!).  Unfortunately, although the cabinets are beautiful, Kraftmaid cabinets they were too old for us to order something else to put there.  But, all the better.  The custom one will be something different and special.  Don't worry, I'll be sure to show you when it's finished!


During that first month, Kevin had a bachelor party to attend (shout out to Erin and Jared...these two met at our wedding and got married last September!).  We were trying to utilize every second we had that month.  So, Kevin bequeathed me with the task of painting the drywall sections.  I chose a taupe which turned out perfectly.  What a pretty good job I did for my first time painting, if I don't say so myself! ;)  Unfortunately, I did not remember to take pictures of it when I was finished...so you'll just have to imagine it! ;)


Next, it was time to move in the appliances!  Shopping for appliances was fun! Of course, we first started our search locally.  But, Kevin ended up finding a GREAT online provider that shipped for FREE and did not charge sales tax!!  The only catch was that the items were shipping from a distributor in California and living in Cleveland it would take about a week to get here.  But, that was okay with us.  We decided to purchase all Samsung appliances that we had previously viewed in local stores.  So, we knew exactly what we were getting but for much less money.  God bless the internet and Warehouse Discount Center!  I scheduled for the truck to arrive at out house one afternoon with our stove, refrigerator and dishwasher.  And arrive it did.  But, not without a hitch of course.  I knew that it was important for me to visually inspect everything before the driver left, just in case.  So I did.  I cut open those boxes and did my job.  Dishwasher...check, looking good.  Stove...check!  Refrigerator...s**t.  Yep, you guessed it.  A nice dent or two on the side of the brand new refrigerator.  Ugh!  I have to admit that it was very difficult for me to refuse the refrigerator.  It was really a beautiful refrigerator (that's how you know you're not in college anymore...an appliance is beautiful, ha!), but I knew deep down that the dent was too big.  Plus, we just purchased NEW appliances, not used.  If there was going to be a dent in my new appliances, I wanted to be the one to put it there.  Here are the oh, so sad dents.  


With that, I refused the refrigerator and sent it back to California.  Luckily, the people at Warehouse Discount Center were extremely helpful and had another refrigerator shipped and on it's way in no time.  The refrigerator made its second appearance about a week later and was in pristine condition.  Woo 
hoo!


Off we went, installing our new appliances.  No major issues with the stove. The fridge was a piece of cake...plug it in and go!  It was the dishwasher's turn.  Now come on, nothing is ever easy.  Kevin worked extremely hard installing the dishwasher and spent a couple hours doing so.  Kevin finished and we went to turn on the dishwasher just to make sure everything was kosher.  Not so much...there was a PIN sized hole in the water line that came with the dishwasher.  Looking at the hose, you could not even see it.  Trust me, a lot of expletives were used that day.  We eventually ended up solving this issue by finding the hose online and ordering it.  It would have taken longer to have the Samsung contracted "repairman" order the part then for us to order it.  Plus, this long month was coming to a close.  Eventually, the dishwasher was installed, looking beautiful and more importantly NOT LEAKING!  


Mid clean up...I was getting anxious to take pictures!

But, wait!  What about a microwave?!  Well, do you remember the picture of the open space once all the cabinets were gone?  Did you notice the *ahem* "beautiful" range hood?  


Oh yes, you better believe that thing was on its way OUT!  Remember above how I said that Kraftmaid does not manufacture our specific cabinet anymore?  Well, I should have been more specific.  They still manufacture a "hickory" cabinet, but they do not produce the specific door (with the pretty ornate corners) that we have on our cabinets.  So, we were able to order a small cabinet for that space from Carter Lumber in Chardon.  The only difference was the door shape...can you tell?  


Before

After!

I think that Kevin and I notice because we know (and I guess now that the secret is out all of you will notice too!).  But, most people don't notice.  Either way, that wonderful Amish cabinet maker is also crafting some doors to coincide with our current cabinets.  Hooray!  All in all, it was a pretty great transformation.  I was really impressed and proud of Kevin (and me too!  I did hold the cabinet and microwave for a long, damn time!).  :)

I know, this is never ending, huh?  Three quick and easy things we did were to replace the overhead light, change out the faucet and Kevin made new, clean shelving for the ENORMOUS pantry.  Ta-duh!


Not my best picture, but notice the ugly, GlOwInG
fluorescent light


We went with some track lighting here.

Now you can see it in its full glory!

Faucet before...barely working (with no sprayer!)

After!  I really love this faucet.  It's an
American Standard faucet that we found at
of course, Home Depot!  The sprayer
nozzle is the actual faucet head itself.

Look at those poor sagging shelves! :(

Nice new shelves!


Last, but not least, the hardware.  It really is amazing what a difference some hardware can make.  We decided that we wanted something with clean lines, similar to the handles on the appliances.  Off to Home Depot we went (I really would like to know exactly how much Home Depot has made off of us in the past year! Ha!).  We searched and searched and just did not see anything that was appealing to us.  I checked Lowes too, with no success.  I knew my search was destined to be another online search.  By the way, I knew hardware was pricey, but did not expect knobs to be the price that they were!  Luckily, I stumbled across a site, Knobs4Less, that had exactly what we were looking for and at a decent price.  We did end up splurging a little on the hardware, but that's okay.  We chose an Amerock stainless steel hardware.  What do you think?


Before
Pulls after


Knobs after


Phew!  I think that's it for the kitchen.  At least for now, anyway!  What did we learn from this adventure?  Here's my list:


  1. Painting is not so bad!  You can do it!
  2. Shop appliances online for better deals...but, make sure to check them out when they arrive!
  3. Always keep extra paper towels handy...you never know when a leak might spring!
  4. Hardware is damn expensive, period.

Another day, another lesson.  :)  Thanks for joining us in the kitchen!  I promise some scrumptious cupcakes when you visit our kitchen next.  


Gluten free, dairy free peanut butter cup


P.S.  Rambo likes the kitchen a lot...can you tell?


Friday, July 12, 2013

The first month

Welcome back!  Now that you have an idea of what our home looks like, I think it's time to show you some projects!  Are you in?!

I want to start out by telling you that a lot of what we have done to the inside of the house has been undoing mistakes and fixing things that have become outdated or just worn. 

We were lucky enough to be able to have a month between the end of the lease in the condo that we were renting and the closing on the house.  So we had ONE WHOLE MONTH to prep the house and do various projects.


Project #1:
Rip out the laminate floor in the living room and replace with new carpet.  Now, I'm sure you're saying to yourself, "That floor looks nice!".  But, the reality is that it really wasn't.  The Realtor did a great job with her photos.  Actually looking at the floor in person revealed bubbles and a laminate that wasn't installed properly.  Plus, Kevin and I both agreed it was just too much wood.  We needed some carpet to warm it up and make the living room oh, so cozy! 


Project #2:
Take a look at that photo again, because project #2 also involved the living room.  Kind of an all for one project.  Remember my advice to keep your eye on the fire wood holder?  Yep, rip that out too.  It really made the space awkward and although having somewhere to keep your firewood is necessary, that little contraption was NOT necessary. 

Ta duh!  Gone.


Another view


Project #3: 
More and more and more tearing things out!  We also decided to replace the carpet going up the stairs, in the hallway on the second floor and in the master bedroom.  Isn't it always nice to have new carpet?!  Speaking of new carpet, picking out carpet was something that I was completely unprepared to do.  I went into the carpet store very unsure of what color I wanted and how much it would cost!  Anyone who knows me knows that I'm pretty organized.  I would say that I'm Borderline Type A. So, you had better believe that I attempted to research carpet costs and all that lovely, fun adult stuff.  I really had a tough time finding accurate numbers since it all depends on where you shop!  Back to the carpet store...I was overwhelmed.  It felt like I just said, yes to whatever samples the guy suggested.  But, I went back to the condo with the samples and stewed.  I originally was thinking some kind of sandy or mixed color carpet to hide dirt.  Kevin kept pushing a WHITE carpet...WHAT?!  WHITE carpet is found in sitting rooms of wealthy folks...not my house!  The more I looked at the samples (inside the condo and outside the condo and inside the condo again) the more I kept leaning toward WHITE!  Was I crazy?  I took the samples back to the store and asked for "Pearl".  Here goes nothing, I thought. 

The carpet was chosen.  Now onto ripping out the old, ugly carpet.  I have to tell you that ripping out old carpet is not the most exhilarating experience.  Particularly, tearing out the staples.  I recommend having a vodka soda before and after pulling staples. :)


The beautiful, green 90's style carpet
in the upstairs hallway.
AFTER!


Master Bedroom before
After (I love this picture...meet Rambo.  Isn't this
a perfect picture for a Home & Garden magazine?)


Last, but not least, I took a panorama of the living room.  This is a recent photo, but it gives you a nice idea of what we really did to the room.  We were lucky enough to come across an old, copper pot to hold the fire wood.  Best of all, it belonged to Kevin's grandfather.  Who doesn't love a keepsake?


Hope you enjoyed the first set projects.  Don't worry, that wasn't all that we did during that month.  Don't forget to follow us!  Up next:  The KITCHEN!

*Special thanks to Homestead Interiors (or on Facebook) for the beautiful carpet and great service!

Monday, July 8, 2013

Dreams Really Do Come True

Well hello there!  Here it is, my attempt at blogging.  :)  What better thing to blog about than our home?!  Home is where the heart is...and my heart lives in a log home.  Ever since I was a little girl, I have always dreamed about living in a log cabin home.  I know, you are probably thinking "Really?  That's what you were dreaming about?".  Well, really I was!  I may not have always known what I wanted to be growing up (that's a whole other subject for another blog!), but I always knew that I wanted to live in a beautiful, rustic log home.
 
Almost 1 year ago (July 31st, 2012 to be exact), we closed on a property that had my childhood dream written all over it.  Our home sits on 3 acres of land with a pond and lots of woods in beautiful Northeast Ohio.  Initially, when I discovered the listing for our house my husband Kevin and I were in a slump searching for houses.  We could not find anything that fit what we were looking for in a home.  It was like fate that day in May!  Kevin was committed to finding a 2-story home with some LAND!  Me?  I just wanted a nice house that wasn't a split level (sorry to anyone who lives in one, it's just not my style and at the time that was all that was on the market).  Okay, so maybe I had a few more demands than just those 2 things ;)  There it was!  Could it be?! 


A LOG home with 3 acres of land on a private lot?!  I was ecstatic...but moved ahead with caution.  I couldn't help but ask myself, "What's the catch?".  Of course, Kevin and I decided to do a drive by first before calling our realtor.  We pulled up the driveway and couldn't believe our eyes...was this too good to be true?  As we walked around the porch and peeked in the windows, we knew that we had to get inside this house.  I called our realtor and scheduled a viewing.

We were IN!  I would be lieing if I said it was love at first sight.  Here was the catch...it was a bank owned property that had been sitting vacant for almost 2 years.  Needless to say, our soon to be home needed some TLC.  Kevin was actually more excited than I was the first time we made it inside the house.  I was pretty nervous about buying something that needed what looked to me like "a lot of work".  Looking back now, I realize that although we have and will continue to improve our home, it could have been much worse.  Thankfully, I have an amazingly handy husband who DOES NOT leave a project unfinished. 

That brings us to now!  One year in and we are ready to open our doors to let you see what we've been up to and will be up to.  I'm posting the photos that were included in the listing of our house.  A little introduction to the look and style of our home.  We hope you enjoy the journey as much as we have!


The living room


The fireplace in the living room (keep your eyes
on that fire wood holder!)


The living room has french doors that open
onto the back deck.


Downstairs bathroom...we're excited to show you
what we've done in here!


The Kitchen!  This is where I spend most of my
time :)  We made several changes in the kitchen
right away, so stay tuned.


Looking into the kitchen from the "dining area".


This is the view we wake up to every morning.


The front porch. 


The master bedroom.


The upstairs bathroom.


One of the guest bedrooms.